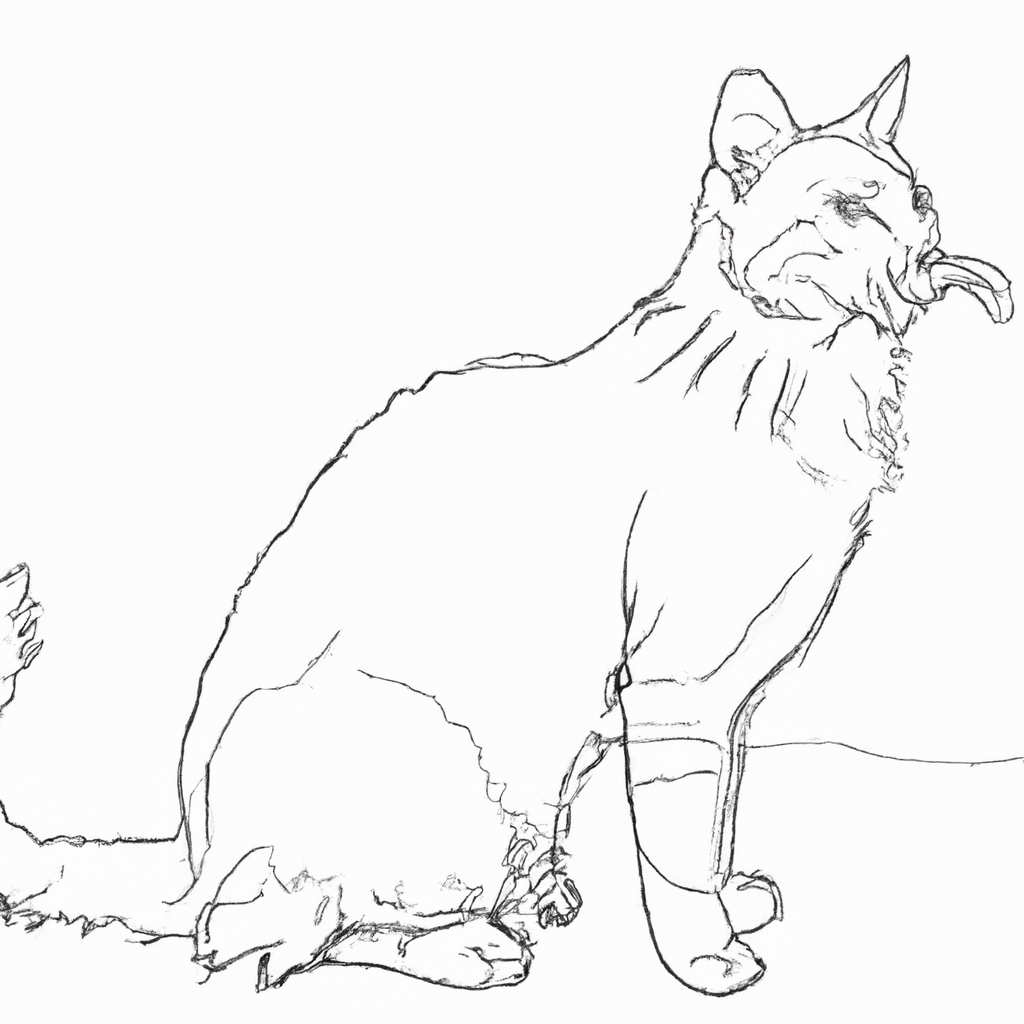
If you’ve always wanted to learn how to draw a cat and create your own adorable feline masterpiece, then this article is for you! In this step-by-step guide, you’ll discover simple and easy-to-follow instructions on bringing a cat to life on paper. From sketching the basic shapes to adding intricate details, you’ll be amazed at how quickly you can create a realistic cat portrait. So grab your pencil and let’s get started on this artistic journey together!


Materials Needed
To start your cat drawing, you will need a few materials. Grab a pencil, an eraser, and some paper. It’s always helpful to have a reference image of a cat to assist you in capturing the unique details of their appearance. So make sure you have that handy too!
Step 1: Sketching the Head
The first step in drawing a cat is to sketch out its head. Begin by drawing a circle in the center of your paper. This will serve as the foundation for the cat’s face. Next, add two triangles on either side of the circle to represent the cat’s ears. Make sure the placement of the ears is proportional to the size of the head.
Step 2: Drawing the Facial Features
Now it’s time to add the cat’s adorable facial features. Start by drawing the eyes within the circle you sketched earlier. Cats have a distinctive almond shape to their eyes, so try to capture that in your drawing. After that, draw the nose and mouth below the eyes. Lastly, don’t forget to include the cat’s whiskers, which extend outwards from the sides of its nose.


Step 3: Outlining the Body
With the head complete, it’s time to move on to the body. Begin by sketching a long, curved line downwards from the bottom of the head. This will form the cat’s neck and body. Once you have the basic shape in place, add a curved line at the end to create the tail. Cats often have fluffy tails, so feel free to give it some extra volume!
Step 4: Adding Legs and Paws
Now let’s give our cat some legs and paws. Starting with the front legs, draw two straight lines extending downwards from the body. These lines will serve as the cat’s forelimbs. Next, sketch the hind legs below the body using two slightly angled lines. To complete the legs, add small oval shapes at the end of each line to represent the paws.
Step 5: Detailing the Features
It’s time to add some more detail to your cat drawing. Begin by refining the facial features. Add more depth to the eyes by drawing pupils within them. You can also add small curved lines above the eyes to represent eyebrows. To bring the cat to life, sketch in some fur texture all over its body. You can achieve this by drawing short, curved lines that follow the shape of the cat’s body. Lastly, define the overall shape of the body by adding more curves and contours as needed.
Step 6: Erasing Guidelines
Now that your cat drawing is taking shape, it’s time to clean up any unnecessary lines. Use your eraser to carefully remove any guidelines or stray marks that may still be visible. This will give your drawing a cleaner and more finished appearance.
Step 7: Adding Final Details
As we approach the final stages of your cat drawing, it’s time to add some crucial details. Start by refining the eyes and pupils, ensuring they stand out and capture the cat’s alert and captivating gaze. Next, add the whiskers, making sure they extend outwards from the sides of the nose. Finally, add any additional small details to the mouth, such as the line representing the cat’s lip or any texture you wish to include.
Step 8: Finalizing the Artwork
Now that the main elements of your cat drawing are complete, it’s time to add some finishing touches to make your artwork truly standout. Begin by adding shading to areas that would naturally appear darker, such as under the chin or around the eyes. This will add depth and dimension to your drawing. Additionally, highlight certain areas, particularly on the fur, to create contrast and make them pop. Lastly, feel free to add any additional details or embellishments that will make your cat drawing unique and personal.
Step 10: Enjoying Your Drawing
Congratulations, you have successfully created a beautiful cat drawing! Take a moment to appreciate your artwork and be proud of your accomplishment. If you’re feeling generous, share your creation with others. Whether it’s with friends, family, or fellow art enthusiasts, sharing your cat drawing can bring joy and inspire others to unleash their creativity as well.
Remember, drawing takes practice, so don’t be discouraged if your first attempt doesn’t look exactly as you imagined. Keep exploring different techniques and experimenting with your own style. The more you draw, the better you’ll become. So keep that pencil moving and continue honing your artistic skills. Happy drawing!

